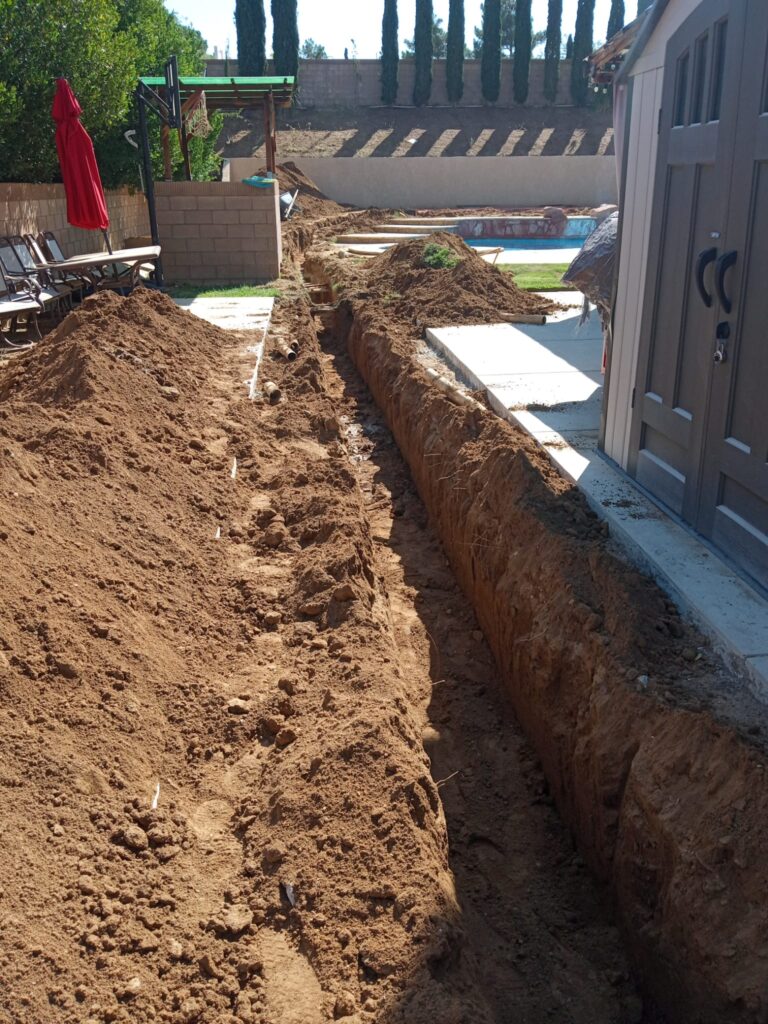
Backyard ADU Part 3: Underground Work

Building an accessory dwelling unit (ADU) in California has become an increasingly popular option for homeowners looking to maximize their property’s potential. However, one of the critical aspects of the construction process involves the underground electrical and plumbing systems. Understanding this process can help you ensure compliance with local regulations and build a functional, efficient unit. Here’s a breakdown of what you need to know.
Research Local Regulations
Before you break ground, research your local regulations regarding ADUs. Each city or county in California has its own set of building codes, zoning laws, and permit requirements. Familiarize yourself with these regulations to ensure compliance and avoid costly delays.
Design the Layout
Work with an architect or designer to create a layout that maximizes space while considering the placement of electrical and plumbing systems. An effective design can minimize the complexity and cost of installation.
Obtain Necessary Permits
Once your plans are ready, you’ll need to submit them for approval. This includes obtaining the necessary permits for plumbing and electrical work. Be prepared to provide detailed plans, including the proposed locations of underground lines and fixtures.
Underground Electrical Process
1. Planning the Electrical System
Your electrical plan should include the total power requirements for the ADU, accounting for lighting, appliances, and heating or cooling systems. Consult with an electrician to determine the best configuration.
2. Trenching
The first step in the underground electrical installation involves trenching. A trench must be dug from the main electrical panel of your home to the ADU’s electrical panel. The trench typically needs to be at least 24 inches deep to comply with code regulations.
3. Laying Conduit
Once the trench is ready, electricians will lay conduit (PVC or metal) in the trench. This conduit will protect the electrical wiring from moisture and physical damage. Proper sealing and fittings are crucial to ensure safety.
4. Installing Wiring
After the conduit is in place, electricians will run the appropriate gauge wiring through it. The specific wire type will depend on your ADU’s electrical load and local codes.
5. Connection and Inspection
Finally, the wiring is connected to the main panel and the subpanel in the ADU. An inspection is typically required to ensure everything meets safety standards.
Underground Plumbing Process
1. Designing the Plumbing System
Your plumbing design should address the water supply, waste drainage, and venting needs for your ADU. A plumber can help you develop an efficient system that meets all local regulations.
2. Excavating for Pipes
Just like electrical work, plumbing installation begins with excavation. Trenches are dug to accommodate both water supply lines and sewer lines, generally at a depth of around 18 inches.
3. Installing Pipes
Once the trenches are ready, plumbers will install pipes for both the incoming water and outgoing waste. Common materials for plumbing pipes include PVC for drainage and CPVC or PEX for water supply. It’s vital to use the right materials that meet local codes.
4. Backfilling and Testing
After installation, the trenches are backfilled, but not before testing the system for leaks. Water supply lines are pressurized, and drain lines are tested for proper flow.
5. Final Connections
The last step involves connecting the plumbing system to the main house’s supply and drainage systems. Again, inspections are typically required to ensure everything is up to code.
Conclusion
Building an ADU involves a comprehensive understanding of the underground electrical and plumbing processes. By planning meticulously, adhering to local regulations, and working with licensed professionals, you can ensure a smooth construction process. Ultimately, a well-designed and properly executed ADU can not only enhance your property’s value but also provide essential living space for family members or generate rental income.
For homeowners in California, embracing the ADU trend can be both a rewarding investment and a step toward addressing the housing crisis. With the right knowledge and preparation, you’ll be on your way to creating a functional and beautiful accessory dwelling unit.

